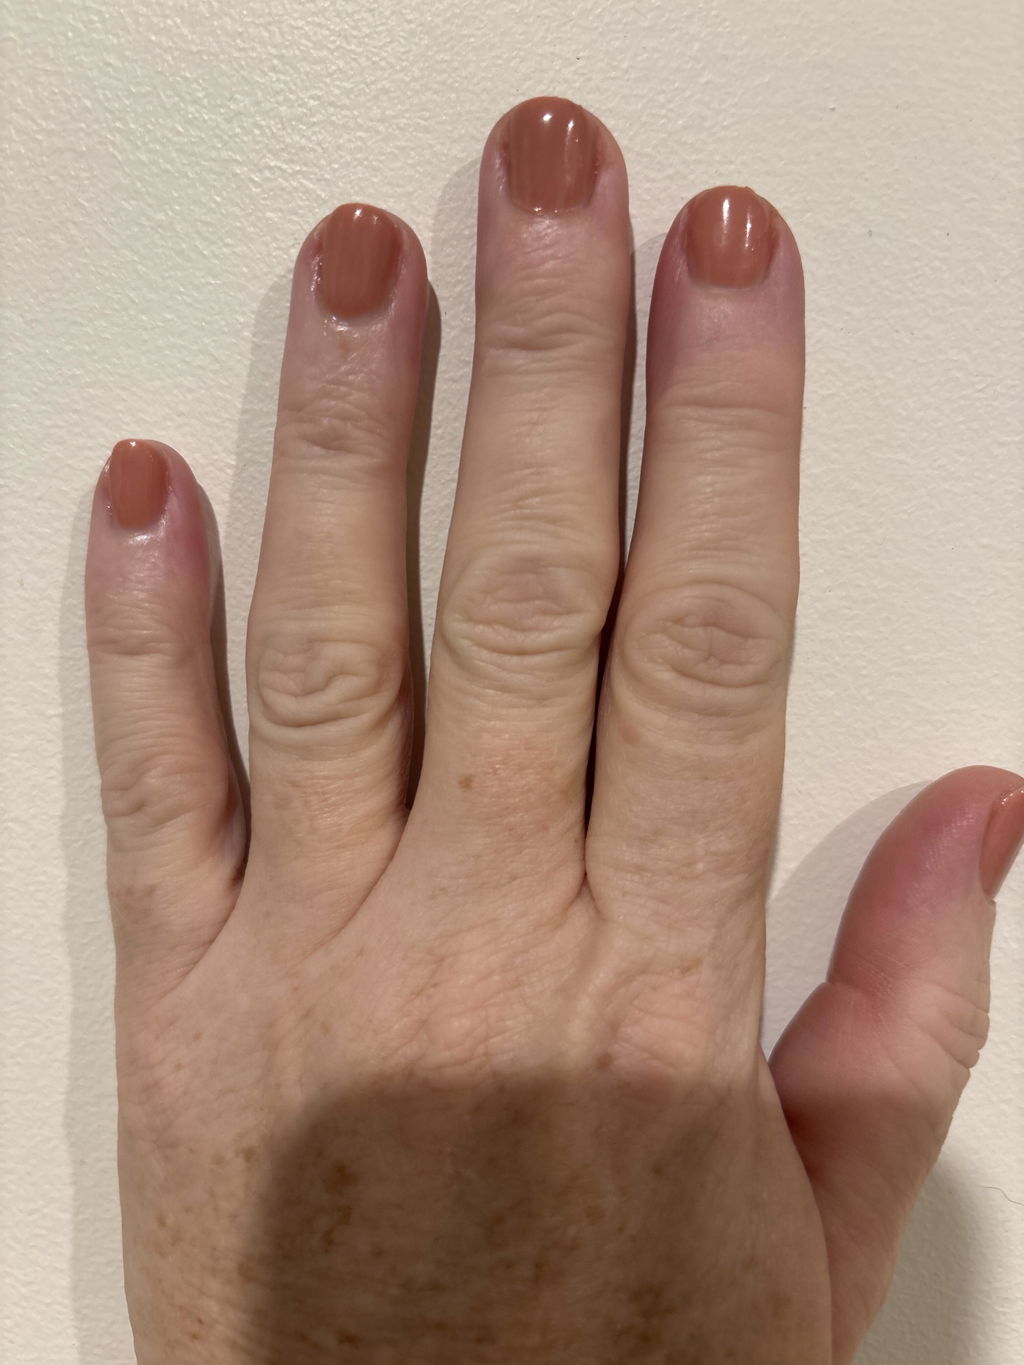
Beautiful nails don't start with polish—they start with proper nail preparation. Take your time to nail prep before polish, ensuring that polish, gel, or any nail enhancement adheres smoothly to the nails. Many beauty enthusiasts underestimate the simple question: how to prep nails at home? Skipping this step can often lead to disappointing results, no matter how premium the polish is. By dedicating just 15-20 minutes to a nail preparation routine, you can transform the way your nails hold colors, texture, and shine.


Step 1: Remove Old Polish

Removing the old polish is the first and most crucial step of the nail prep routine to achieve a salon-perfect look at home. Use an acetone-based remover for glitter or stubborn colors, or a non-acetone formula for gentle or regular nail polish.
Soak the cotton pad in any of the nail polish removers and press it on the nail for a few seconds instead of scrubbing aggressively. It helps remove the polish without damaging the nail surface.
Check each nail carefully for any leftover streaks or residue. Even small traces of old polish can cause new layers to peel off prematurely. After complete removal, wash your hands with a gentle handwash and warm water to remove all the leftover chemicals. This step protects and prepares nails for further steps.
Step 2: Trim and Shape

Once your nails are free from old polish, it's time to shape them properly—an essential step whether you're applying regular polish or learning how to prep your nails for acrylics.
Trim and shape your nails to the desired length using sharp or high-quality nail clippers. Don't trim nails too close to skin, and always file in one direction to maintain strength and prevent splitting.
Choose your desired nail shape from options including round, square, almond, and oval, which fit your fingers and lifestyle. Make sure all nails are consistent in shape and length for a professional, symmetrical appearance. Taking the time to shape your nails not only enhances the appearance but also reduces the risk of breakage, especially during daily life activities.
Step 3: Care For Your Cuticles

Keeping cuticles healthy is also an important step of professional nail preparation, as it's helpful for nail growth and a polished finish.
Start by applying a cuticle softener or oil to loosen the dry skin. Now, gently push back cuticles with a wooden stick or cuticle pusher to create a space for nail polish or nail stickers, but avoid forceful pushing.
You can trim cuticles or hangnails with cuticle nippers only if necessary, as overcutting may lead to infections, irritation, or slow nail growth.
After pushing back or cutting, moisturize the area well with hand cream. Hydrated cuticles or regular care help your nails appear longer and well-maintained between manicures.
Step 4: Buff the Surface

Buffing the surface is another step in nail preparation. Remove the ridges, smooth the nail plate, and improve polish adhesion by using a 180-240 grit buffer.
Always use light, gentle strokes while buffing your nails; otherwise, over-buffing can make your nails thin or prone to breakage.
Whether you want to prepare nails for gel or regular polish, remember that different manicures require different buffing levels. Gel nails benefit from light buffing to help the polish adhere firmly, while regular polish only needs minimal smoothing. Always avoid aggressive pressure and remember that the goal is to slightly roughen and even out the surface, not paper-thin nails.
Step 5: Clean and Dehydrate

After buffing, wash your hands to clean nails before manicure, as it helps remove all dust and debris. Disinfect the nails using an alcohol swab or nail cleansing solution to eliminate any natural oils left on the nail plate.
Let the nails dry completely before applying any nail stickers, decals, wraps, or nail polish.
Avoid touching the nails after cleaning, as oil from your finger's skin can transfer to the nails, and oils can reduce nail polish adhesion. A clean and dry surface ensures your manicure will stay intact for days or even weeks without chipping or lifting.
Common Prep Mistakes to Avoid
Even with the right tools and steps, minor mistakes not only ruin the nail prep for beginners but also impact the longevity of nail polish. Avoiding these common mistakes helps you achieve smooth, flawless, and long-wearing nails every time.
Skipping the Cleaning Step
Cleaning nails is the foundation of any manicure. Skipping this step allows the dirt, oil, and residue to stay on the nail plate, preventing polish, gel, or acrylics from adhering properly to the nails. A quick wash or wiping with alcohol remover can make a big difference.
Over-Buffing Your Nails
Buffing means to lightly smooth the surface, not to thin the nails with over-buffing. Aggressive buffing can lead to weak, sensitive nails that can easily break. A few gentle strokes using a 180-240 grit buffer are enough to prepare the nails for creative artwork.
Not Removing All Old Polish
Even the tiny traces of old nail polish can cause streaking, poor adhesion, or uneven texture. Always double-check the corners of nails to ensure every bit of old nail polish or dirt is removed before starting the manicure.
Applying to Wet/Oily Nails
Moisture or oil left on the nails prevents the polish from bonding to the nails. It's best to wash your hands, dry them completely, and use a lint-free wipe with alcohol or dehydrator to eliminate any leftover moisture from your nails.
Using Dirty Tools
Using dirty files, clippers, nippers, or pushers can introduce bacteria and cause uneven results. Always clean and sanitize the nail care tools before starting your prep routine to protect your nails and achieve salon-quality results.
Quick Prep Tips by Manicure Type
Different manicures require different levels of preparation, and understanding these needs helps you achieve better, long-lasting results.
Regular Polish
For classic red or maroon nail polish, a simple prep routine of 10-15 minutes is enough. Remove all old nail polish, shape your nails, push back cuticles, lightly buff your nails, and apply a base coat for better adhesion.
Gel Manicure
Gel polishes bond best when the surface is lightly roughened. After cleaning and shaping your nails, buff the nails a bit more thoroughly compared to regular polish, but still with gentle pressure. A dehydrator or alcohol wipe is essential for removing all dirt and oils before gel polish application.
Nail Stickers
Nail stickers and wraps adhere directly to the nails, so the surface must be extra clean and completely dry. Ensure there are no traces of oils, debris, or moisture. Even light buffing can help nail stickers grip better on your nails.
Acrylics/Dip Powder
These manicures require the most detailed prep. After shaping and cuticle care, remove any natural shine using the 180-grit buffer, dehydrate the nail plate, and ensure zero oil remains. Proper prep is key to preventing lifting and achieving long-lasting results.
Key Takeaways
- Remove old polish completely using appropriate remover
- Trim and shape nails to your desired length and shape
- Care for cuticles with softener and gentle pushing
- Buff the surface lightly with 180-240 grit buffer
- Clean and dehydrate nails completely before polish application
- Different manicure types require different prep levels
- Avoid common mistakes like over-buffing and skipping cleaning
- Use clean, sanitized tools for best results
Conclusion: Nail Prep is the Key to Long-Lasting Manicure
Understanding manicure preparation steps is the foundation of any beautiful, long-lasting manicure. Skipping steps to save a few minutes may seem convenient, but in the end, it often leads to premature chipping or lifting.
Just give yourself 15-20 minutes to remove old polish, shape and trim nails, moisturize your cuticles, buff the surface, and clean the surface, ensuring the manicure lasts for days or weeks.
Remember, practice makes perfect. The more you follow nail prep routines, the faster and easier it becomes to achieve healthier and stronger nails, even with daily manicures. Your nails will be a picture of perfection—smooth, shinier, and more polished.


Comment (0)